TB First GNS3 Topology
by C. Casquatch
Network Simulation
This week I built my first network topology in GNS3. The best way to get comfortable is to build something, break it, and learn from the mess. Mission accomplished.
Building the Topology
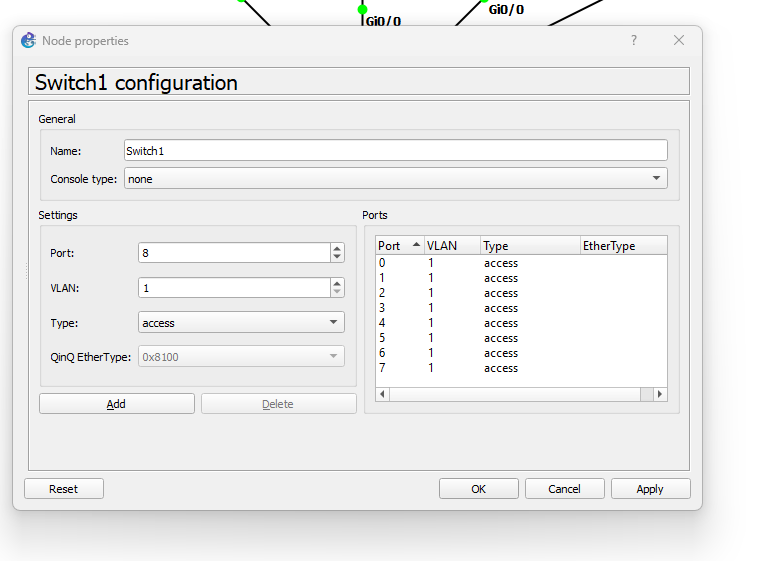
I started with a basic setup using unmanaged switches from the GNS3 device library. These are simple to use but lack a console interface. Instead, configuration is done via the device’s configuration panel—just selecting VLANs and assigning the number of ports.
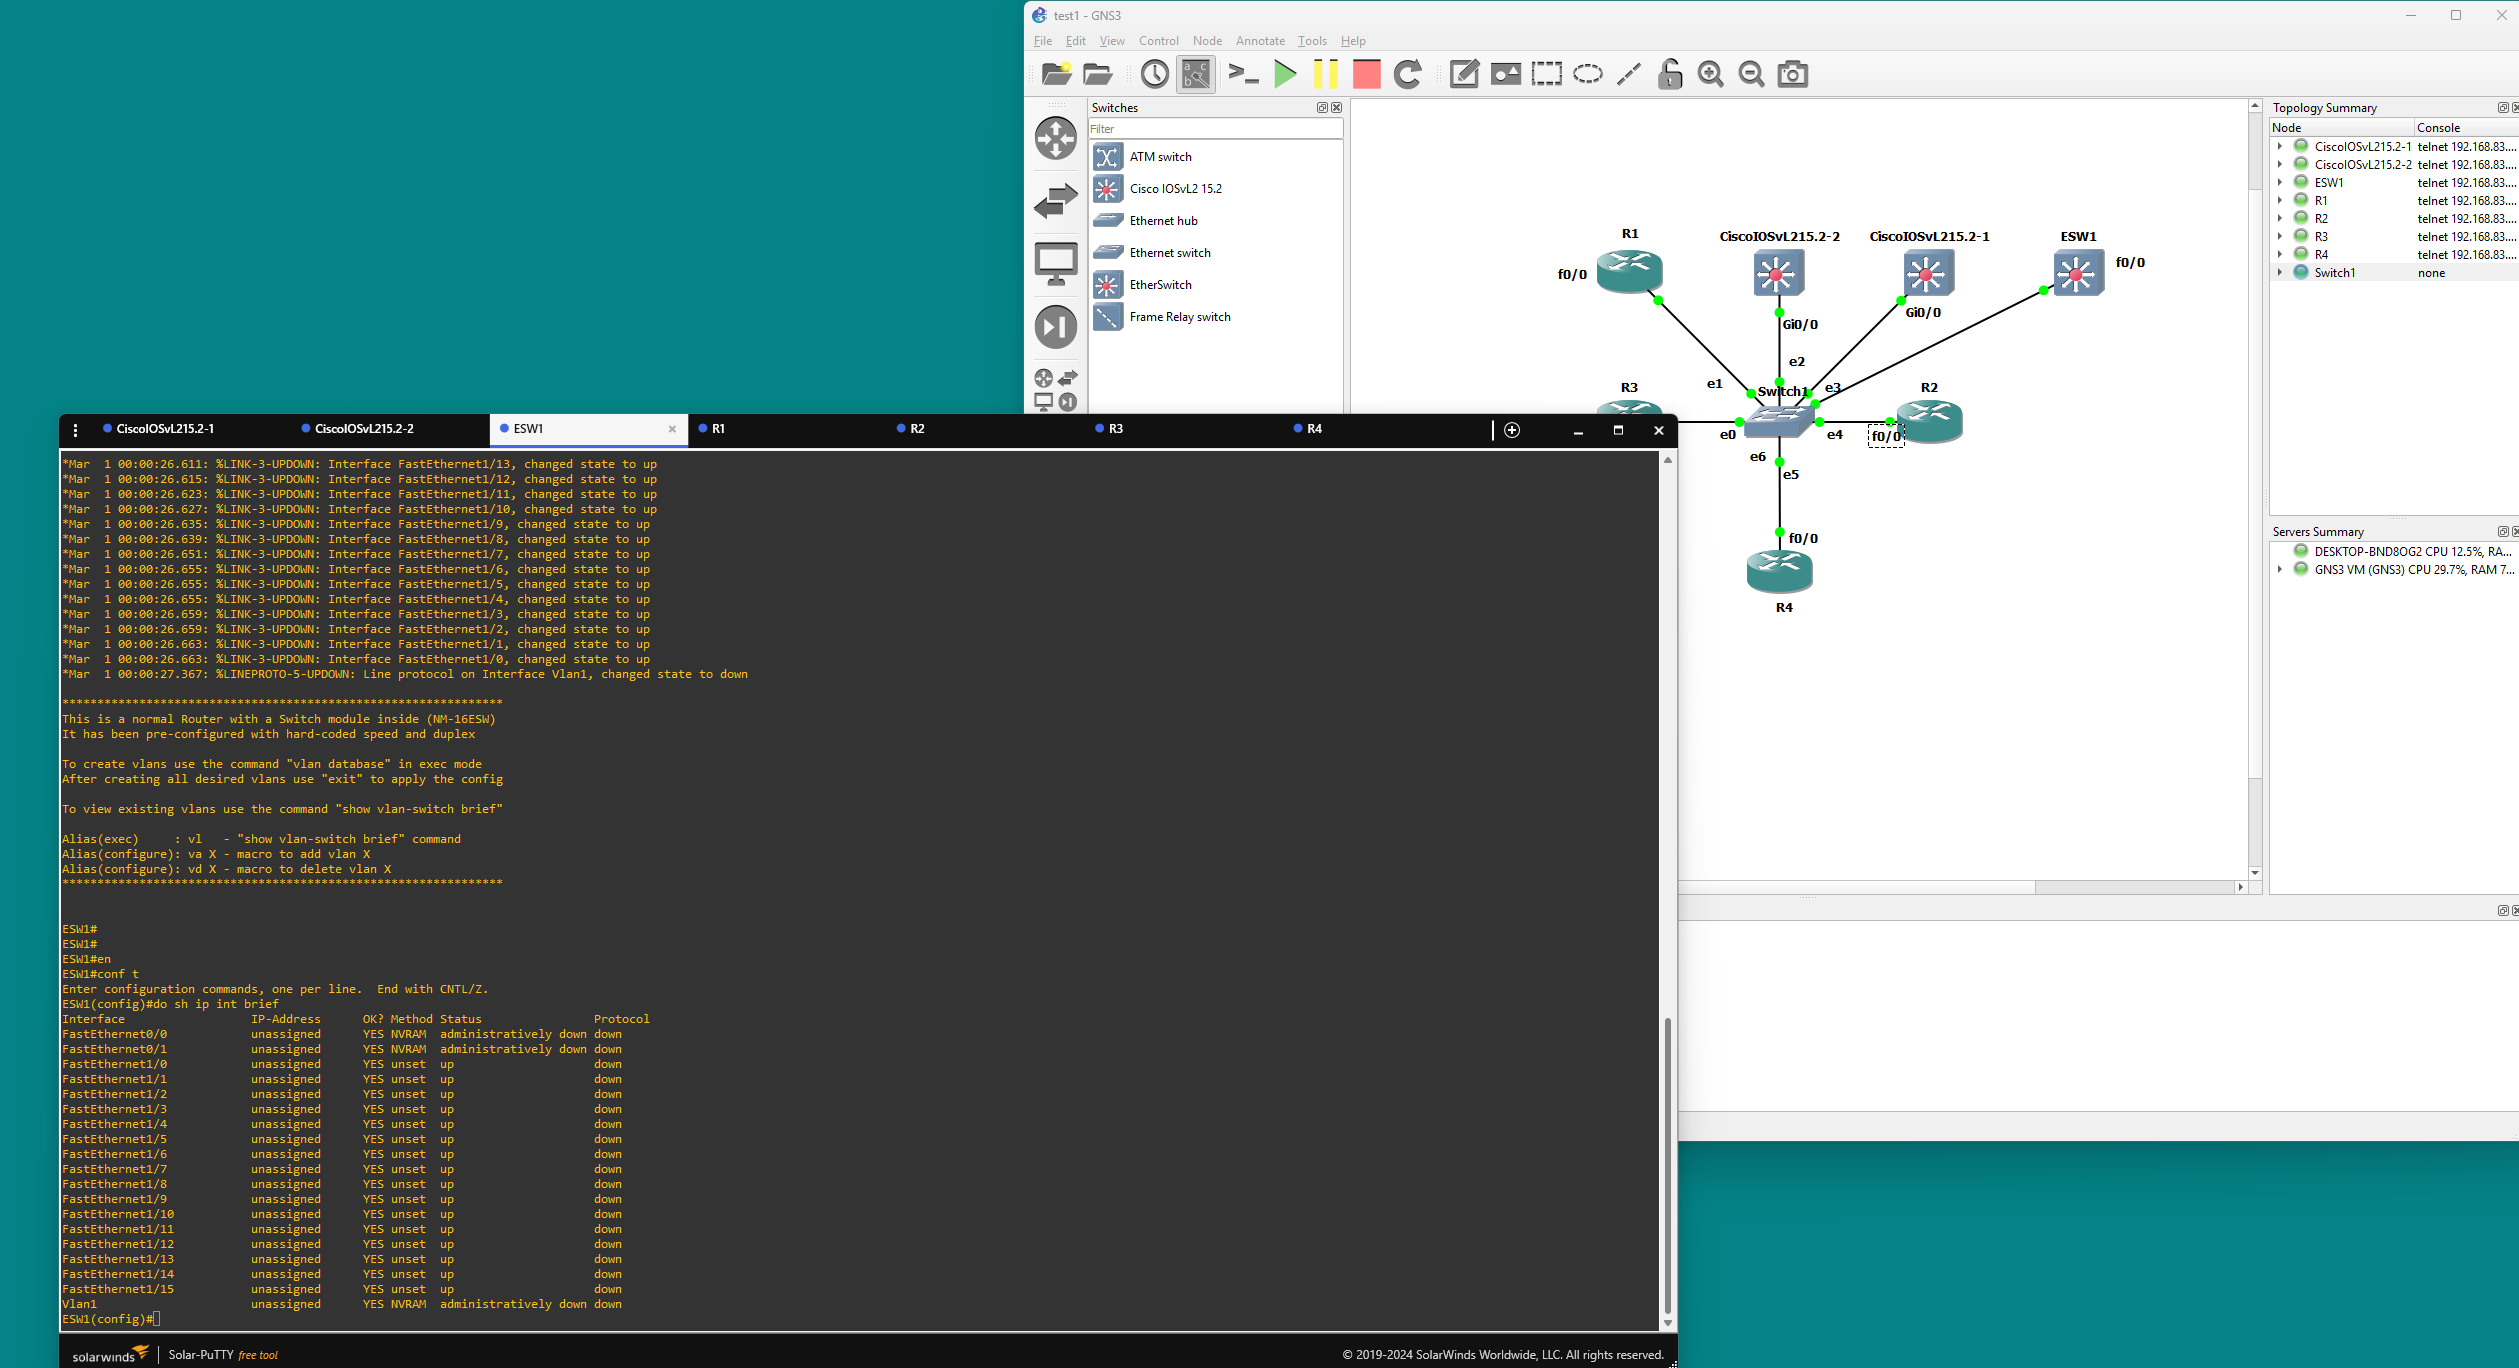
To get hands-on with Cisco CLI, I imported a Cisco Etherswitch and a router. These gave me the chance to practice actual device configurations through the terminal.
CLI Highlights and Gotchas
Once inside conf t mode on the switch/router, I learned a few important commands:
- Enable IP routing on the switch:
ip routing - Convert a switch port to a routed port:
interface fa0/0 no switchport - Don’t forget to bring the interface up:
no shutdown
Tip: Routed ports usually use 0/x, while switching interfaces are 1/x. Routed ports need to be brought up, meaning you need to use the ‘no shutdown’ on all routed ports.
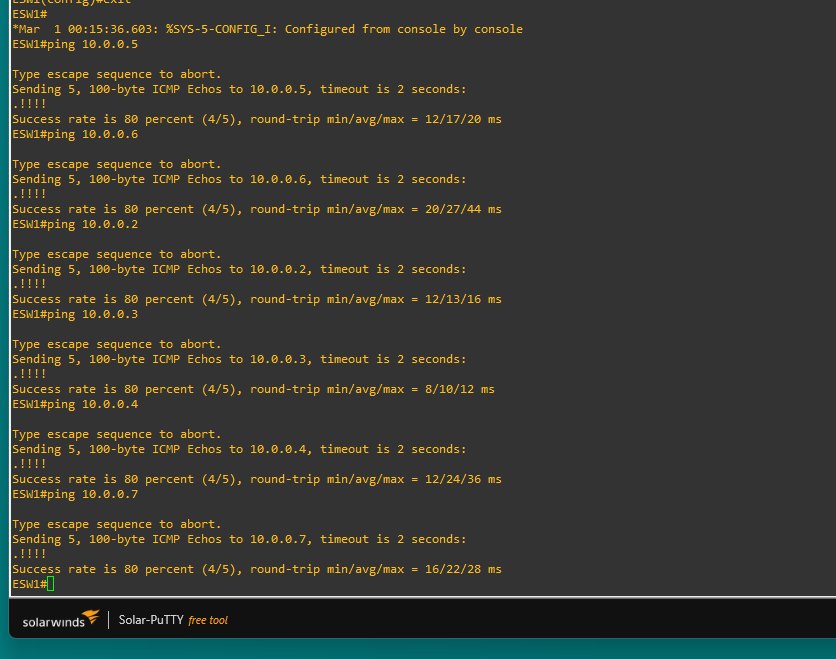
After configuring static routes between devices, I made sure everything could ping everything else. Always satisfying to see those replies.
Duplex Drama
One lesson came from a duplex mismatch between FastEthernet (100Mbps) and GigabitEthernet (1Gbps) interfaces. This caused a bunch of annoying console messages:
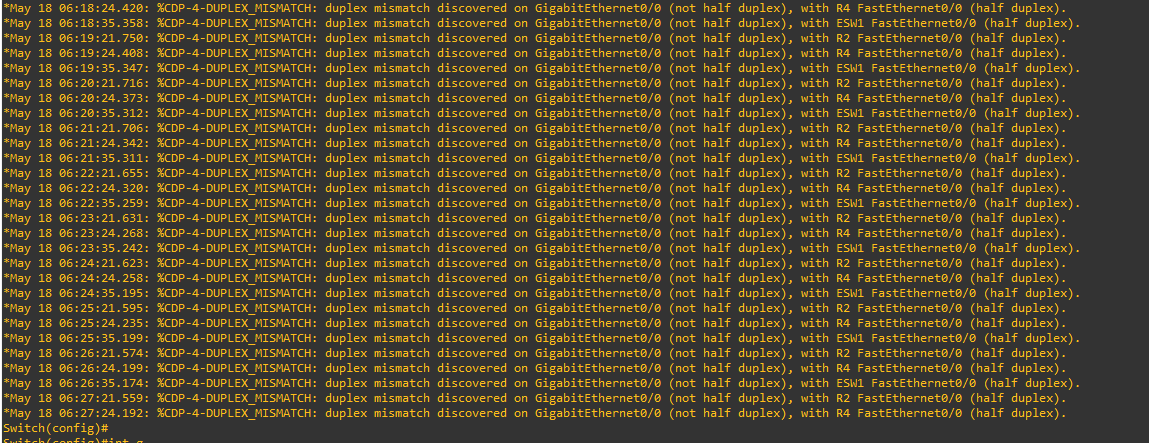
To fix it:
- Disable auto-negotiation:
no negotiation auto - Set duplex mode manually:
duplex auto - Stop the message spam:
no logging console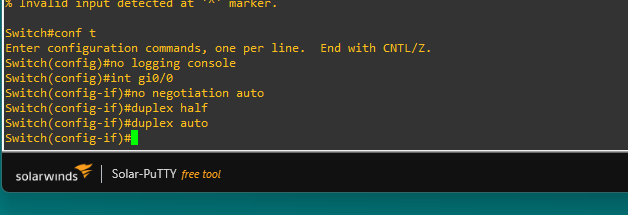
NOTES: GNS3 is powerful, but it helps to know your device limitations (especially unmanaged switches). Interface types matter—don’t mix FastEthernet and Gigabit without adjusting duplex settings. no logging console is your best friend when the device won’t shut up.
tags: GNS3 - CCNA - Networking